

For Creators preparing media for a new Space.
Upload artworks and thumbnail
Step 2 of creating a Space: set a cover thumbnail and upload the artwork videos that will play in your exhibition.
Overview
This is Step 2 of creating a Space. You set a thumbnail (the cover image people see in listings) and upload one or more artwork videos that you'll later display inside the 3D exhibition. You can also add optional gallery images for the Space's detail page.
Once a thumbnail has been set, this upload step is not revisitable — returning to it sends you straight to the Studio. After that, replace the thumbnail via Edit details and add more artworks in the Studio's Artworks panel.
Before you begin
- Have a cover image ready (16:9 is recommended, e.g. 1920×1080), up to 10MB. Or generate one with AI.
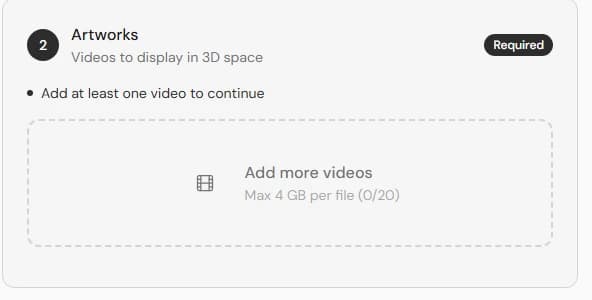
- Have your artwork videos ready. Supported formats include MP4, WebM, and MOV, up to about 4GB each, and up to 20 per Space.
- Gallery images are optional: JPEG, PNG, WebP, or GIF, up to 10MB each, and up to 10 images.
Set the thumbnail
- 1In the Thumbnail section, drag an image onto the drop area or select it to browse.
- 2Prefer a 16:9 image so it fills card layouts cleanly.
- 3To create one from a text prompt instead, choose Generate with AI — see Generate an AI thumbnail.
- 4Use Change or Remove if you want to swap the image before continuing.
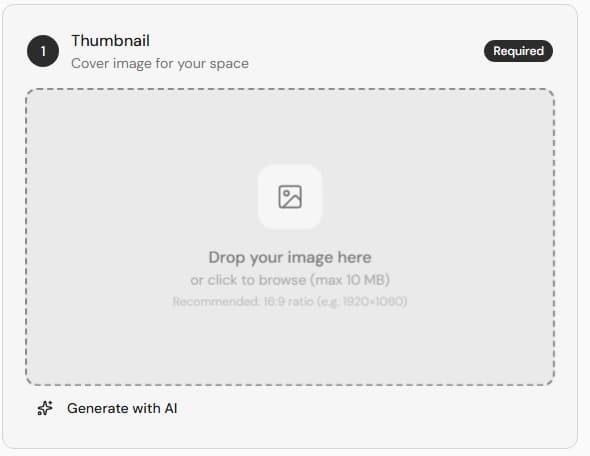
The thumbnail is required first. Until one is set, the Artworks and Gallery sections stay locked.
Upload artwork videos
- 1In the Artworks section, drag your video files onto the drop area or select to browse. You can add several at once.
- 2Each file appears in a list with a preview frame and its size. Remove any you didn't mean to add.
- 3Add at least one video to continue. You can add more later in the Studio.
Uploads are resumable. Large videos upload in chunks, so a dropped connection can pick up where it left off rather than starting over. After uploading, each video is processed (transcoded into smooth streaming quality). It will show a processing state and won't be playable in the Studio until that finishes. Processing time depends on the length and resolution of the video — larger files take longer.
Add gallery images (optional)
- 1Expand the Gallery Images section.
- 2Drag images onto the drop area or select to browse (up to 10).
- 3These appear in a lightbox on the Space's detail page — they do not appear inside the 3D scene.
Finish the step
Select Next. Your thumbnail and gallery images upload, and you're taken into the Studio to build the 3D exhibition. If you select Exit instead, your selections on this page are discarded.
Notes
- Artwork videos can also be added and managed later in the Studio's Artworks panel — you are not limited to what you upload here.
- If a file is the wrong type or too large, you'll see a message and that file is skipped.